If you are new to leatherworking, threading the needle can seem a little intimidating and even confusing. If you are just starting out with leatherworking it may feel off, especially if you are used to only working with fabric. With fabric, there are no knots and with the thick and dense material of leather, you will sometimes need to apply a lot more force to get the needle through, which is why you want to make sure the thread locks in place properly.

What you need
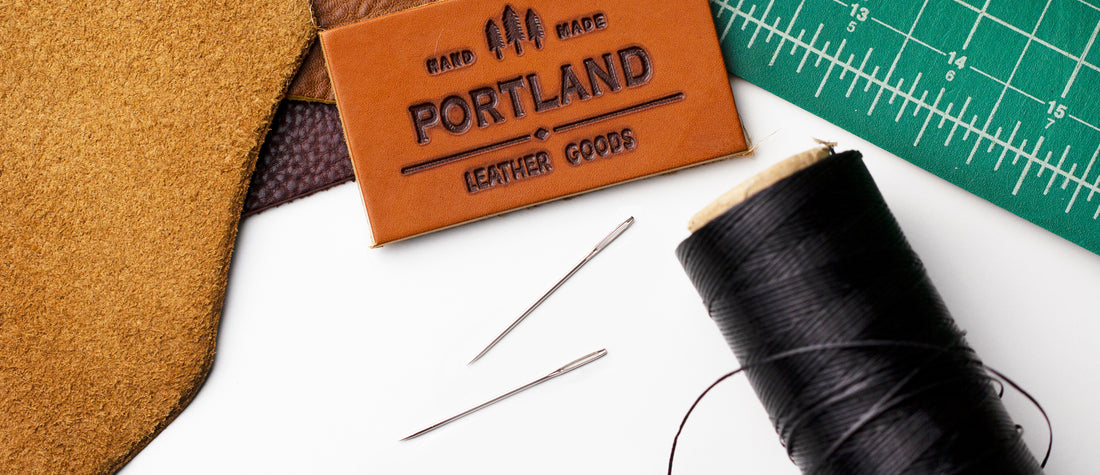
- leather sewing needles
- waxed linen thread

Step 1: Thread the Leather Needle
First, you will want to prepare your needle and thread for the leather sewing. Threading a leather needle can be tricky, especially if you haven’t done it before. But after you do it a couple of times, not only will you feel more confident, but you’ll see it becomes much easier.

Rest assured, threading the needle is much easier than you may think. You first want to cut the length of thread the same way you would with any other craft project. It is best to go longer than expected; a good length is half the length of your arm. Take the end of the thread and smash it between your fingers. By squishing the ends it will fit easier through the end of the needle. Make sure to push the thread at least an inch of thread past the eye of the needle.


Step 2: Pass the Needle Through the Thread
Next, you will want to bring the longest piece of thread up to the end of the needle. After you do this you will twist it open. This is important because as you push the needle between the strands of thread it will secure it into place.


Next, take the thread that you pierced down the needle and wrap over the eye until it's twisted around the thread. Make sure to pull it taut. Once it's in the right place, your thread should look like this.

Once you have locked the end of the thread in place, twist it with the working thread. This is a necessary step as it will make the thread easier to control because it will be stronger (which means less of a chance for it to come apart!) It will also pass through the holes much easier making your entire sewing process more enjoyable. Amen to that! There you have it. Short, simple and sweet! Now you are ready to sew your leather.

This article was brought to you by Portland Leather Goods. We make award-winning handmade leather products from the finest full-grain hides, creating personalized products to showcase your personal style.